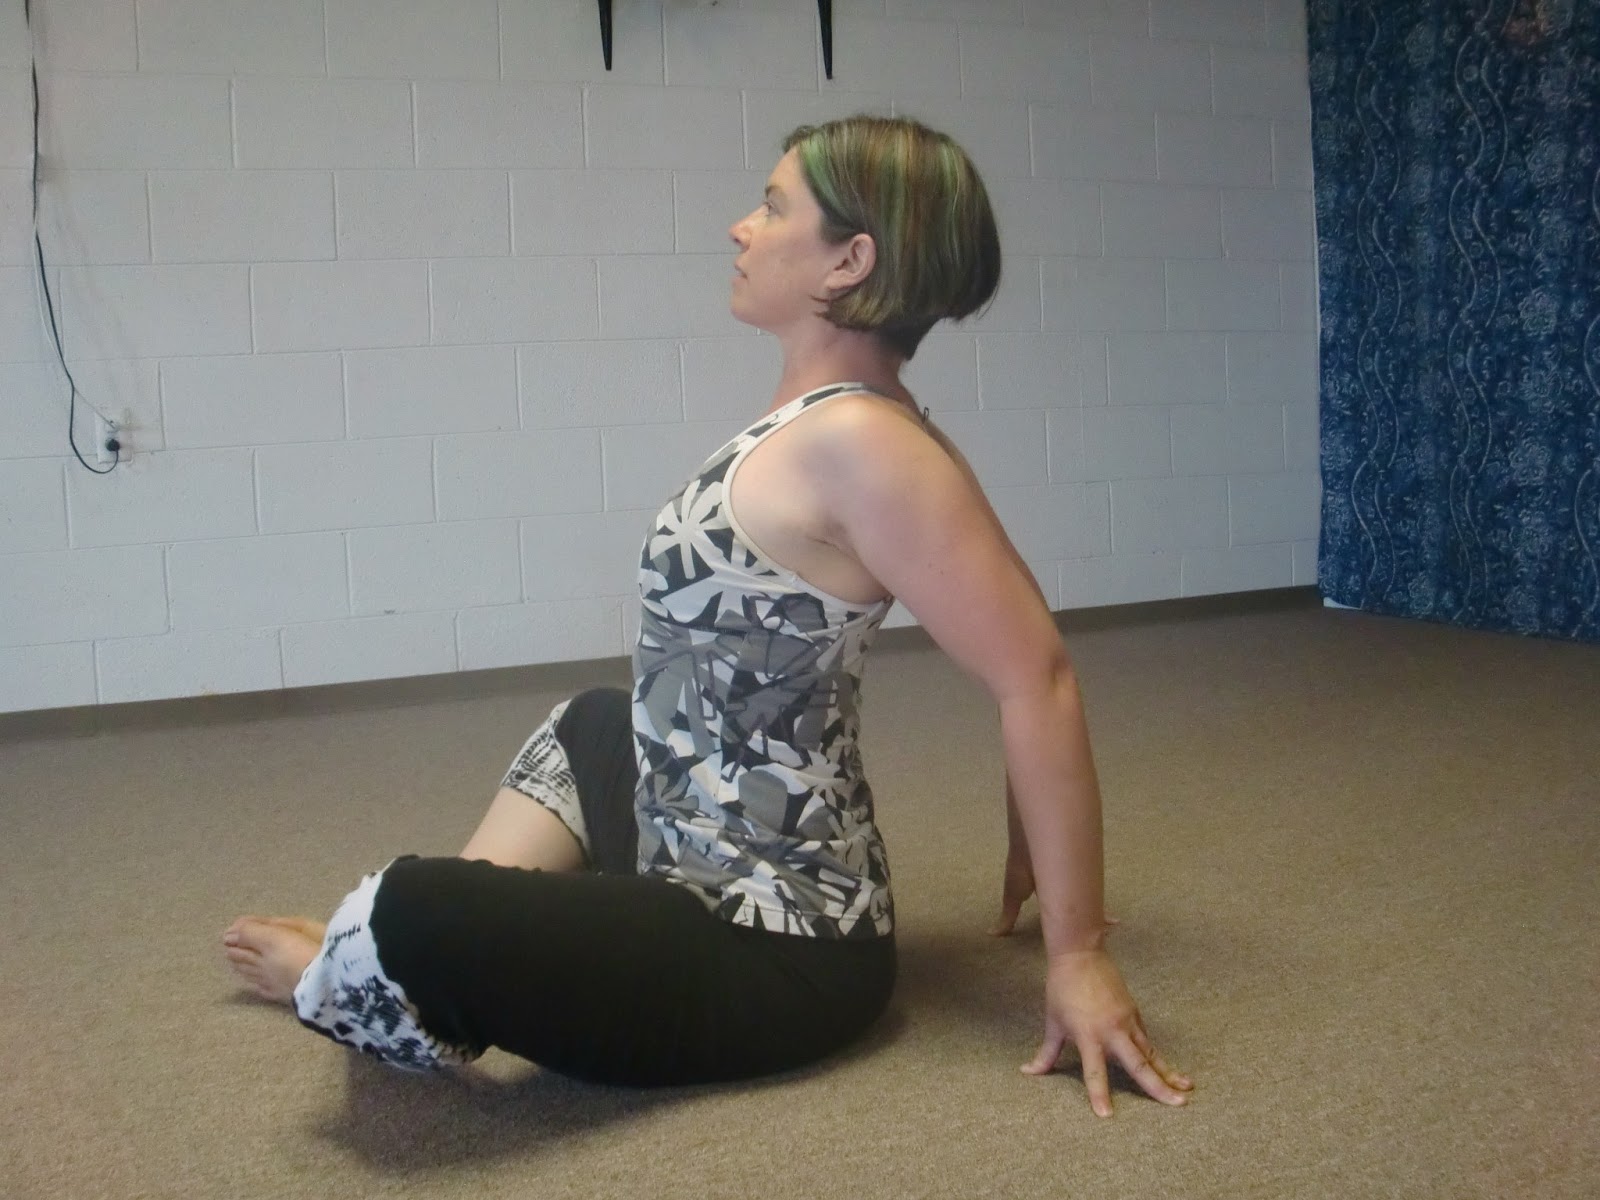
Its all yoga, all the time for me! Throughout my day - doing bodywork, teaching yoga, running a business, working in the garden, relaxing with friends and puppies in this beautiful state of New Mexico - my life is infused with yoga. I love the deeper awareness of my body, mind, soul that it brings me; love the deeper connection it enables me to experience with the world around it; and REALLY love that I am able to share this beauty with others.

I know its not always possible to connect with other yogis, that we all need extra inspiration in our own practices, and sometimes even a little kick in the butt to get into that yoga zone. I hope this blog will help you with that (and me, too!) as I share pieces of my classes, practices and inspiration with you.
Showing posts with label Marisa Wolfe. Show all posts

Monday, April 27, 2015

Wild Kingdom Yoga!

Saw a HUGE coyote on my walk this morning and I thought of the Howling Wolf Bastrika and said to myself, "I haven't done that one in a while!"  So, I tried it out again and, wow, what a great way to warm up the body and let out all the stress. 

How to do this pranayama?
1. Come into Child's Pose with your palms flat on the floor under your shoulders.
2.  As you inhale, use your breathe to push your belly away from your thighs as you press your arms to straight.
3.  As you exhale, bend your elbows, draw your belly in and use the pressure of your thighs against your belly to move all your breath out.
4.  Repeat steps 2 and 3 at least 10 times.


Cautions: If this practice makes you feel dizzy, I advise against this practice.

What in the natural world has inspired your practice lately?

Wednesday, November 26, 2014

Hip Opening Fun Yoga Flow!


**Just a side note as its almost Thanksgiving... all the twists in this vinyasa make it great for keeping your digestion in shape!  Just don't attempt it when your belly is full ;-)

Wednesday, September 3, 2014

The Ocean's Breath

I've spent alot of time in the ocean this past week , as I explore Maui.  The ocean is not a place I've always felt comfortable but it's really growing on me.  Its like a good friend that it just took a while to connect with.  As I connect with it more and more, I've been noticing the subtleties of how it moves, how it breathes, the rhythm and flow.  It's like a pranayama.  I'm not quite sure of what is movement, breath or energy but it all comes together into this amazing, life affirming experience.

As the tide is rising and the waves are getting more intense, I've noticed there is a distinct pattern that lets you know how big the wave will be.  There is a moment where you feel everything pulling out to sea, even your feet if you don't anchor yourself.  Then there is a moment of stillness.  Finally the wave rises behind you, a gentle arc, then rolls over itself into shore, crashing and rushing yet still maintaining its calming essence and energy.  

If I try to breathe like a wave, I find myself with a steady inhale til I am completely full, a pause at the top, then I let the exhale come rushing gently out.  That gentle quality is important.  The wave maintains all the way to shore, it just gets smaller; it doesn't become anything else, its still a wave.  Less about change, more about the cycle.

Combining this breathwork with my asana practice gave a lovely vinyasa.  Ebbing and flowing from posture to posture, using the wave to inspire my movement led to undulating, spine releasing postures that move the whole body and balanced my energy, carrying me into a state of bliss.  My favorite flows? There were three...  Inhale to child's pose --> pause --> exhale to cobra.  Inhale to downward facing dog --> pause --> exhale to upward facing dog.  Inhale to bridge --> pause --> full puvana muktasana/apanasana.

The movement changes, but the breath, the breath keeps its cycle - taking you deeper into each expression, inside and out.  

Blissed out at the beach...

Wednesday, July 30, 2014

How Yoga Changed My Life - new blogging from local yogini!

Our local yoga community is full of interesting people!  Bridget Hales started a blog this spring and has been posting about yoga, wellness, parenting, and food (yum!).  I encourage you to check out her blog, she has such a lovely writing voice - http://hotteatravelandthyme.blogspot.com/ - her latest post is How Yoga Changed My Life :-)  Enjoy and let her know it!

Friday, January 31, 2014

Anatomy and Asana for WRISTS!

Last night at Yoga del Sol, I led a Asana and Anatomy workshop on Wrists.  As promised, here are my notes from the class.  Notes are never a complete class or explanation, so feel free to ask if you have questions....


 ANATOMY - 8 carpals (PRACTICE - find a partner, see if you can feel all 8 bones:-), they articular with each other, with the metacarpals on your hand and with the radius, (The ulna articulates with a disc rather than the bones themselves) No two of these bones have the same movements! That’s one complicated joint! Actually almost like many different joints. These bones are circled by a retinaculum. This thick band of connective tissue is like a cuff holding the bones and holding the long tendons that run elbow to fingers in place close to the bone. That’s alot literally bound up in there. PRACTICE - on one another, smooth out the flexor (palmar) retinaculum.

There are NO muscles specific to the wrist! There are muscles that pass through the wrist and the wrist itself is controlled by the muscles of the forearms. So how do we support the wrist when we are in poses that are weight bearing or creating force on the wrist? We have to use the forearms, which are usually weak and tight from everyday use. Its a funny thing, when we are weightbearing on our feet in yoga, we get that we have to engage the feet and the legs, its the only way to stand tall. But when we are weightbearing on the hands, we tend to just let them be curled and soft. Initially, it may be uncomfortable to support the hands as we develop strength and flexibility in the muscles but it must be done if they are to do their job.
PRACTICE – Lifting the arch of the hand. Notice that there is an indentation in the palm of your hand. With your hand flat, Increase the depth of that indentation. You can do this looking at the palm of your hand and seeing it happen. You should do this with every posture that is weightbearing on your wrists. Try it in table, Down Dog, and Plank – palms down, fingers wide, lifting the arch of the hand. You will feel this in your hands and forearms.

The nerves that pass through the wrist mostly originate in the neck. Nerve pain felt in the wrist could be a result though of compression anywhere from the neck to the wrist.

Common Wrist Syndromes:
Tendonitis, Rheumatoid Arthritis, Osteaoarthritis, Carpel Tunnel Syndrome, Thoracic Outlet Syndrome

There is an arch in the carpals - the carpal tunnel - many tendons pass through here as does a major nerve. If the retinaculum is tight or the bones have shifted or there is inflammation in the tendons, this will cause irritation of the nerve as it rubs against its surroundings and becomes compressed.

PRACTICES for improving ROM and Strength in the Wrists:
moving each finger joint with the wrist in neutral. Can even use the other hand to limit the movement of other joints. Work with both flexion and extension. And work with moving one finger at a time.

Strengthen by bending first joint and pressing outward to lengthen fingers to straight. This is done with the wrist bent. Can resist with other palm or floor.

Hand in fist by side working with lateral flexion. Can also be done with a weight in hand.

Hand in fist, elbow flexed, flex and extend wrist. Can also be done with weights.

Losing ROM in larger joints (i.e. shoulders) places greater strain on smaller joints (ie elbows and wrists) we are very familiar with this of course in relation to knees and hips, but also true in wrists esp for poses that put pressure on the wrists. Opening your shoulders can make your wrists happier :-)

Tightness in the muscles over your thoracic outlet can not just impinger nerves creating pain in wrists, but can restrict blood/oxygen flow further exacerbating the situation and making healing challenging. Rounded upper back, hunched shoulders = bad news for wrists.

Even a misalignment in your hip or spine can contribute to wrist pain (see above). So, for the best possible comfort in a pose, esp a pose with weighted hands, watch the alignment of your WHOLE body!

Practices for encouraging full ROM in shoulders:
PRACTICE - Facing wall, pigeon toed to encourage lumbar curve - arms up back of hands to wall, then quarter way down, then halfway down, holding about 1 minute in each position. This encourages proper ROM function and engagement in shoulders, elbows, and wrists. Don’t strain but notice where you feel restriction, this gives you info as to what to work on to gain greater everyday comfort.

PRACTICE – Supported Fish

PRACTICES TO BRING INTO YOUR ASANA TO ALLEVIATE STRAIN ON THE WRISTS:
PRACTICE - arm in front of you with palm down. Rotate your palm up. You cannot do this without moving your whole arm - it requires proper mobility in shoulder and elbow, not just wrist. We do this rotation in the shoulder in Downward Dog to engage the shoulder and and serratus anterior without compromising the thoracic outlet - this also helps alleviate pressure on your wrist as you are no longer “hanging out” in your joints. TRY IT in Down Dog, plank and table pose.

Whenever your wrist rotates, the ulna and radius cross over each other like crossing your fingers. This narrows your wrist, particularly inhibiting if you have carpel tunnel syndrome. This repetitive motion can cause pain and burning in the wrist. PRACTICE- Down Dog, Plank and table without rotating the wrist. Anytime you have a body part weighted on the floor, you always want the most surface area possible! This can also be an eye-opening practice in Side Plank. Just remember, Side Plank is an awesome pose for wrists when your alignment is right on (lining up your wrist, elbow and shoulder joints vertically) but its a TERRIBLE pose for your wrists when your alignment is off.

PRACTICE - stand with elbow tucked in to side, bent to 90 and palm up. Now, rotate your palm down keeping your elbow tucked in. If the palm doesn’t turn all the way over, it may be because the elbow doesn’t have its proper range of motion and is asking the wrist to do more rotation than its built for. This limitation in the elbow may be coming from elbow or shoulder. Working with this rotation with both palm and Shoulder/Upper Arm fixed can really change your Chataraga for the good!

*Basic reminders for poses where the hands are weightbearing -
Press palms down with fingers spread wide
Lift the arch of your hand
Turn the eyes of your elbows forward without locking your elbows.

*In Chataranga and Plank – type poses, remember they are core poses NOT upper body poses, reach back through your heels, engage your core!

*In Down Dog-type poses, don't worry about getting your heels to the floor. Bend the knees and take your weight back, chest toward knees and reduce the angle of your wrists (they should be coming toward flat toward the floor.

Good references:
Pain Free by Pete Egoscue for whole body practices
Yoga Body by Judith Hanson Lasater – text not practices.
Anatronica.com or Gray's Anatomy for anatomy


Wednesday, October 23, 2013

Kriyas - coming closer to truth

All yoga practices are a cleansing of sorts - releasing stiffness from the body, releasing the mind from cycling thoughts.  There are several Kriyas with a capital K in tantric yoga; these are often intense practices for cleansing the areas most congested, one of the most common is simply using the neti pot.

Through repetition, all of our asanas become kriyas.  Consider this next time you practice.  Move in and out of your postures with your breath multiple times feeling how this affects your body and beyond.  Practicing in this way (much like we do in Slow Flow Yoga) shows us absolutely how our physical practice affects the metaphysical.  Its an internal housecleaning that changes the atmosphere around and within you, bringing harmony to even contradictory aspects of yourself as you come closer to your own truth.

May the truth set you free!


Thursday, September 19, 2013

A Deep, Sweet Hip Opening Posture

Figure four stretch is a lovely way to release long-held tensions in your hips. With slight adjustments in the angles of your knee you can reach and stretch all 6 deep hip rotators, your glutes and the lowest of your low back muscles. Check out this video for a sweet way to let it all go using the wall for support. A great resting posture!


Friday, September 13, 2013

3 great yin poses for knees and ankles

First let me note that these are great yin/passive poses for healthy knees and ankles.  They will help you to open greater range of motion and circulation in these areas, and provide an occasional chiropractic adjustment.  If your knees and ankles are NOT healthy, proceed with great caution and take advantage of the prop suggestions.  If you feel pain, you need to back things waaaaaaaay up and turn these poses into active poses instead of yin poses.  Pain is a sign that these are poses you need muscular support to avoid injury.  Yin poses are meant to provide NO muscular support.  This is one reason that they work so effectively into your joints.

Reclining Hero Pose is a wonderful opener for the ankles, moves deep into the knee joint and, through the backbending aspect, provides and especially effective opener for the lower belly and shoulders.
Reclining Hero Pose sometimes take a little prep with props....
but once you get there, ahhhh :-)


If you need a little more lift, change us your props to accommodate.


Seated Forward Fold
Placing blankets beneath the knees relieves strain on the hamstrings and delicate tissues of the knee joint. In both this and the next pose, you may feel pressure, even popping, in your ankles when you allow them to completely relax.  This release is often needed and can feel great, but remember pain is never needed.


Wide Angle Forward Fold
In a wide angle fold, the blankets under the knees again provide relief from strain in the knees.  Using a bolster to prop your torso helps relieve strain in the inner thighs/medial knee.  Be sure to angle the bolster so you feel just a light stretch to the inner knee area.


Wednesday, September 4, 2013

The Yoga Cure for Forward Rolling Shoulders....

Got forward rolling shoulders? Most of us do!  Its all that driving and computer work, doing too much work in front of us without strengthening the back of us.  The following sequence will help with that....

Start off with 3 Yin (passive) poses to begin to release the primary muscles that cause forward shoulder roll...
Supported Fish - to open pec major
Supported Bridge (with your bolster long-wise on your back, so your shoulders don't quite touch the floor) - to open pec minor
Parsva Upavista Konasana - to open lats

Then move on to the strength and stretch...
work in your favorite range of motion movements for the shoulders, things like should and arm circles, sun breaths, breath of joy.  Make sure you explore every direction.

Begin to access deep in the hips and the low back (where those pesky lats attach) with
Seated Knees Side to Side
Sit up with the knees to one side and begin to make circles with your top knee.  Don't forget the other side.
Then lift your top foot off the floor and circle your lower leg from the knee.  You will feel this in your hip!  Don't forget the other side.

Give your arms a little love with wrist circles, keeping your elbows straight - try both open palms and fists.

Cobra pose - roll your shoulders back, lifting your sternum as is someone was holding you up in the pose by your shoulders

Cobra Pose with your fingers pointing back.  Yup, that's right. If its ok with your wrists, take your usual cobra position, then move your hands a little closer to your waist and rotate your hands so your fingers point toward your toes.  Remember, this is a baby cobra, no real weight will rest in your hands. Use your back muscles and remember to engage your serratus anterior (the side rib muscles)

Upward Facing Dog - bring in all that you just learned in Cobra Pose

Camel Pose to Child Pose - back and forth synchronizing with your breath.  How much can you open your chest in Camel Pose?  How relaxed can you be when you find Child's Pose?

Parsva Upavista Konasana - this time with engagement.  Lengthen your waist, lift your top arm toward the sky and imagine turning your chest toward the sky.

Bridge Pose - can you make this feel a little like your cobra pose?

Puvana Muktasana - soothe those hard working back muscles.

Twisted Root - Wind those legs together into a reclined twist.

Savasana!

Wednesday, August 28, 2013

Connect and Relax with Yoga

You know that great feeling you have after a good practice - the one where you feel like you are a part of everything, totally connected to the world around you? Ah, yes, that's a beautiful feeling :-)  Try the following exercise to connect one on one at a deeper level.

Grab a partner and sit back to back so you are supporting one another.  Deepen your breath. Tune into each other and begin to feel one another's breath as it moves their back (and maybe even your's).  Begin to sync your breath with your partner's.  Stay here and breath as one.

Friday, August 23, 2013

Set up your props and ENJOY reclining hero's pose

Reclining Hero's Pose is a wonderful opener for the front of the ankles, the quads and the lower belly. Since its such a great opener, it's also often not terribly comfortable for those that need it most.  Here is an uber-propped version for those of you that need a little help getting there.  You can use these props working with either the yin (passive) version of the pose or the more active version that asks you to squeeze your knees toward one another and point your tail toward your knees.  Either way you choose to do the pose, know that this is not a pose in which you want to approach pain; your knees especially aren't the most stable joints so you want to be gentle with yourself.  If your lower joints are healthy and open, you may choose to eliminate any props you don't find necessary.

There is a little engineering involved in setting up a pose with alot props.  Make sure you have everything you need within arms reach before you start.  And trust me, its all a lot more stable than it looks :-)

In the first photo, you can see most of the props that you may need.

The rolled blanket under the ankles supports your ankles so that they do not have to bend as much under your body weight.

The rolled washcothes behind the knees helps to keep a little more space in the knee joint and reduce pressure there.  When I don't have the rolls, I will often just pull my pantleg up behind my knee for a similar effect.

The block is placed between the feet to support your bottom.  The taller the block, the less pressure on your knees and ankles as you sit back.  This block is the trickiest placement in our set up.  Remember that it may move as you shift your bodyweight, so it can be helpful to place it at an angle in anticipation.

Lastly, stack your bolsters behind you where they will be supporting your back.  Check out the last photo to see and alternate bolster and block placement that will give you a little more height for your back; thus lessing the stress on your quads.

Once you are set up, lean back.  Your weight will help keep everything in place.  Grab a blanket as a pillow if you like and enjoy the opening!


Thursday, August 8, 2013

How to maintain your yoga practice

As the Beatles sang,
"Oh I get by with a little help from my friends
Mm going to try with a little help from my friends
Oh I get high with a little help from my friends
Yes I get by with a little help from my friends
With a little help from my friends"

Yogic philosophy gives us 6 "friends" that lead to maintaining a steady yoga practice.  Consider asking them over next time you are a little reluctant to step onto your mat...

1. Enthusiasm
2. Courage
3. Perseverance
4. Discrimination
5. Unshakable faith
6. Abandonment of the company of people

**special thanks to TKV Desikachar's great book The Heart of Yoga for the simple translation of the 6 friends.


Wednesday, July 31, 2013

Yoga... blindfolded?

Yoga is a very sensual experience.  Usually, our eyes help us a great deal - letting us know where we are in space, what's up with our alignment, who's going by the window... For a deeper experience, take your eyes out of the equation.  They are restless, always trying to gather information.  By letting them take a back seat, you are able to gather more input from the rest of your senses.

To try this in your practice, simply tie a blindfold over your eyes (just closing them won't work as well, its too easy to peak).  I don't recommend working much with balancing poses your first time, instead stay close to the floor :-) Many of the audio and video practices on this blog can safely be done blindfolded.  Whatever your practice sequence, it'll be a whole new experience and help you gain new insight into your yoga and yourself!

Wednesday, July 24, 2013

Happy Yoga Feet!

Set your feet free!  This simple move can have a dramatic effect - decreasing pain, increasing circulation and making balance and movement so much better.  Take off those cramped shoes and help your feet to "breathe":-)


Wednesday, July 17, 2013

Yoga for Exploring the Hips and Low Back

Today's post is an exploration that will help open and stabilize both hips and low back.  It is especially nice for the outer hips and deep in the hip socket itself, places we often forget or avoid.  Take it easy, if you work too hard here, you might miss the juicy parts....

Use the Dirgha Pranayama for the entirety of this brief practice with emphasis on beginning your inhale in the low back and drawing your bellybutton up under your rib cage as you exhale.

Start reclining... 
-Draw your right leg in toward your chest and wrap your arms around it.  Take a few breaths letting your hip and low back open.
-Release your leg and position your knee at a 90 degree angle directly over your hip.  Circle your ankle in both directions at least 20 times.
-Bend your left knee, foot to the floor, and cross your right ankle over the left thigh.  Adjust the ankle closer to your hip or closer to your knee until your find the "sweet spot".  Reach your right knee AND the sole of your right foot toward the wall in front of you.  Fell how this changes the engagement in your hips.  Make sure your abs have engaged to keep your pelvis from torquing.  You want this to be about the hips, not the spine. Take a few breaths here.
-Keep the engagement and draw your legs in toward your chest.  Hold the back of your left thigh and bend and straighten that leg in rhythm with your breath at least 5 times.
-Gently release your legs and rest a bit.
- Repeat on the other side

Come to seated on anything that makes you comfortable with your legs stretched out in front of you... 
-Keep your left leg extended and place support under the knee if its not comfortable straight.  Work your hamstrings and quads against one another to keep your extended knee from hyperextending.
Place your right ankle over your left thigh, just as you did in the previous sequence, and work both the knee and sole toward the floor.  Fold forward with a neutral spine (moving just from the hips) if you can do so with ease.  Stay here and remember to breath for a few breaths.
-Now move your right foot further to the left so the middle of your shin (more or less) is on your thigh and repeat the same action, holding for a few breaths.
-Next, move your left leg to the right (it will be at an angle from your hip) and move your right foot as close to the left hip and the floor as you can.  In essence, you are working toward stacking your knees. Either work sole and knee downward again OR, if you right foot is on the floor, turn its sole toward the sky pointing the toes gently and use the heel of your hand to apply gentle pressure.  Fold with a neutral spine, if desired. and hold for a few breaths.
-Unwind, rest, repeat on the other side.

Now practice these actions in two challenging poses.. double pigeon and cowface...
-For double pigeon, sit tall and stack your lower legs with your shins parallel to the front of your mat, letting your feet hang over your knees so you can reach the soles toward the floor.  This is the fuller version of the pose.  If your knees rise up or your hips say OMG, just back it up - take your knees wider and your feet closer together.  You will only isometrically take your soles toward the floor.  Stay tall or fold forward for a few breaths.
-For cowface, stack your knees with both legs bent, turn your soles toward the sky and use your hands to give gentle pressure to the ball of the foot.  Feels too extreme, work with half cowface a little longer.  You've already done half cowface once today - its the last in our seated pose sequence above.  Enjoy your pose for a few breaths.
Remember to do both sides ;-)

Take a good long savasana after this to allow your body to integrate these challenging openings!


Friday, July 12, 2013

Yoga for Healthy Knees

The knee is a complicated joint and one of the most unstable in the body. It is also one that we often overlook in our yoga practice as we focus on our hips and feet and seem to notice our knees mostly when they hurt.  They deserve more than this!  Check out the anatomical discussion and asana exploration below to give your knees some more love in life...

One of the reasons the knees are so unstable is that there is no good fit where the bones can lend support like the ball and socket of the hip joint. It is primarily the muscles and ligaments that provide support. So, it is especially important that you have supple and strong muscles around your knee. The menisci are also important in knee function, providing padding to the inner and outer knee and helping the joint to track with the hip. If one of your menisci is damaged, you will need to compensate appropriately with props and muscular strengthening. The kneecap also helps keep the knee tracking with the hip and as it is encapsulated by your quadriceps, focussing on proper quadricep function can be helpful. Misalignment, especially in standing poses can cause inner or outer quads to become stronger than the other, resulting in your kneecap not tracking properly. 

When muscles are too tight it can be difficult for them to function properly as nerve signals become impeded and circulation can be easily compromised. Thus we encourage a little stretch and flexibility in yoga poses to open the lines of communication where appropriate. However, if you are hyperflexible, having more than functional range of motion, encouraging more flexibility will have a detrimental effect, so decide appropriately.  The knee does flexion and extension and a TINY bit of rotation (this can be explored in the knee release below). The ability to do this rotation is important to healthy knees but having or extorting too much rotation causes problems. Except for a few extreme poses, we always try to track the knee with the hip in yoga, especially when in is under load.

Knee pain can even be caused by excessive internal or external rotation of the hips, this is often an imbalance in the flexibility and strength of the hips, not the knees.  The poses below will help you understand this concept.

I cannot help you diagnose what knee problems you might have, only your doctor or physical therapist can do that. But I hope that this down and dirty discussion encourages you to pick up an anatomy book (or look online) and explore your own knees through yoga. The more you know... the better you can feel!

When you practice, NEVER allow for pain in the knees. This is not a situation you can “push though.” And if your knees are already injured, it may require a great deal of patience in helping them to heal.  What is most key in helping your knees live a better life is threefold – open your hips in all directions, make space in the knee joint, learn to use your muscles in stabilizing your knees.

Here's a practice to help you explore proper knee alignment and engagement...

Modified Hero Pose – Stand on your knees, with whatever padding you need beneath your ankles for comfort. Ensure that your toes point straight back. Take a rolled blanket and place in across the backs of your knees – the thicker the roll, the more intense this will be. Sit your hips back toward your heels, keeping your back straight. If your hips don't comfortably come to your heels, place a block beneath your bottom. Sit here for at least 2 minutes. This pose helps to gently stretch the quads, intrisic muscles of the knee and tibialis anterior in the lower leg without creating compression in the knee.

Knee release – seated with knee bent, hold one thigh to ensure it will not move. Move your toes to face in and then out, trying to bring as much of the movement from your knee as you can. This helps to release the muscles at the back of the knee and encourage full range of motion. Remember, your knee is not meant to move much except forward and back, so don't push it!

Anjaneyasana/ knee down lunge – keeping hips square and isometrically flexing front foot, inhale hips forward and back, in and out of the lunge, being mindful of the alignment of the front knee. Don't let it wing out or roll in. Then hold in a lunge, hands to floor, keeping knee pointing in same direction as the toes. Remember, taking your knee forward past your ankle creates strain on the knee is loadbearing postures.

Warrior 1 two ways and foot flexion – You may need the help of a partner to find your alignment for this one... Stand in a high lunge with all ten toes pointing straight ahead, back heel off the floor. Point both knees in the same direction. Square your hips. Once you are confident in your alignment in this version of Warrior 1, turn your back toes out a bit and bring your heel to the floor. As you do this, keep your hips as square forward as you can, keep the alignment of BOTH knees pointing in the same direction as your toes. This second version of Warrior 1 can cause torque on your back knee if your alignment is correct, so be extra careful to maintain that.

Triangle – Move into your triangle with more awareness not just of your knees always pointing in the same direction as your toes but with more awareness of NOT hyperextending the knees. Hyperextension means that the knee is locked into its most extreme straight position. This causes a stretching of the ligaments and ligaments have very little ability to “unstretch”. Work your hamstrings (back of the legs) and quads (front of the legs) against one another to keep a stabilizing slight bend in the knees.

Revolved Triangle – This is a great pose for exploring how your hips exert pressure on the knees. Keep the knees always pointing in the same direction as the toes, even as you twist your hips. Keep space in the knees here by pressing the feet into the floor and pulling your thighbones into your hip sockets, this will also help stabilize the low back. Remember not to hyperextend!

Standing Squat – This pose is great for learning to equalize support around your knees. Be sure you can see your toes when you look down so as not to overstress your knees – this means you need to stick your butt out! Having done the previous poses, you know a little more about your assymetries and strengths/weaknesses. See if you can bring your knees into alignment and provide equal muscular support all the way around with this pose.

Bow Pose – This is a great posture for really understanding how your knee alignment affects your low back and vice verse. Take bow pose keeping your knees hip width apart. You will need to be sure to support your low back with your abs. If this challenges either your low back or your knees, you've got some hip opening to work on ;-)
 

Wednesday, July 3, 2013

Nature Inspired Yoga


Thirteen miles in from the Grand Canyon's South Rim on a backpacking trip this May, we encountered this tremendous scene - Ribbon Falls.  Overwhelmed by the beauty, it seemed necessary to do some yoga in celebration.  My good friend Lee Dalton snapped these gorgeous pictures (thanks Lee!).

What beauty inspires your practice?


Thursday, June 27, 2013

Cool Yoga for Hot Days

With temperatures beginning to soar, a vigorous yoga practice can conjure images of slipping and sliding in your sweat on your sticky mat.  Yuck!  Instead, use your practice to cool down and take a mini-vacation...

Here's a few things to remember when practicing to cool your body and mind:
1.  Take it slow and take it easy.  Pushing into a posture, even while using your breath as a guide can build heat and soon have you dripping as much as a more obviously dynamic practice.
2.  As you relax, your body temperature naturally drops.  In this hot weather, this is a welcome respite!
3.  Practicing in the sun will not only heat you up but will zap your energy.  Find a shady spot or practice indoors.
4.  Even if you feel cool, drink lots of water.  If its hot out, especially in dry climates, your sweat may be evaporating before you really notice it.  Hydration is important for cooling and for keeping your muscles supple.

Ease into this cooling practice with the above principles in mind. If you find yourself heating up, take a savasana/relaxation pose.  You can never have too much relaxation!

Pranayama/Breathing Practice:  Use your favorite yoga breath or simply breath fully and completely.  For the first half of your active practice pause the breath at the top of each inhale, this will help build your capacity of your lungs and helping to slow your movements. For the second half of your active practice, pause your breath at the bottom of each exhale, this will signal your parasympathetic nervous system to do its job of relaxing and cooling your body and mind.

Begin pausing breath after inhale...
1. Prasarita Padasana.  Start on your back, knees to chest, arms by your sides.  As you inhale, lift feet toward sky and bring your arms up and by your ears.  As you exhale, return your knees to chest and arms by your sides.  Repeat slowly 8-10x.


2.  Supta Matsyendrasa.  On your back, bring your arms out to the sides in a lazy T.  Scooch your hips a few inches to the right and bend your right knee.  Take that right knee across your body, rolling onto your left hip with your shoulders still on the floor.  Hold your posture with subtle adjustments 8-10 breaths.  Repeat on the other side.


3. Uttanasana.  Come to standing and fold forward from your hips.  Let your knees bend until your belly touches your thighs and your low back relaxes.  Hang from your hips 8-10 breaths and exit the posture SLOWLY.


For the remaining postures, pause breath after exhale...
4.  Ardha Chandrasana.  Stand with your weight even on your feet, arms overhead.  As you exhale, take your hips to one side as you bend to the other side keeping your whole body facing forward and your weight even.  Inhale to center, exhale to the other side.  Repeat 5-7x each side.


5.  Baddha Konasana Backbend.  Come to seated with the soles of your feet gently pressing together.  Reach your knees downward.  Bring your fingertips to the floor behind you, bending you elbows for comfort as you draw the shoulders back and lift your sternum.  Hold 8-10 breaths.


6. Upavista Konasana.  Stretch your legs out wide.  Press through the soles of your feet as you draw your thighs gently into your hips.  Keep your knees as bent as you need to for comfort.  Keep your back straight as you fold from your hips, taking your tail toward the back of your mat.  Go as far as you can with ease and stay there 8-10 breaths.


7.  Apanasana.  On your back, bend your knees and place your hands on your kneecaps, elbows straight.  Completely relax your legs.  As you exhale, use the least amount of effort possible to bend your elbows, bringing your legs along for the ride.  As you inhale straighten your elbows, legs along for the ride.  Repeat 8-10x.


8.  Savasana.  Lie comfortably 8-10 minutes, letting your breath move of its own accord.


9.  Seated Breathing/Meditation.  Sit tall and comfortable. Bring your inhale and exhale both to a count of 5.  Repeat for 20-30 breaths before closing your practice.


Wednesday, June 19, 2013

Coming back to Center

Sometimes life gets away from us and it feels like we are traveling at the speed of light unable to focus and unable to stop.  Yoga can be an incredible tool for bringing us back to center.  Use this audiofile to put on the brakes and coast back to center in your life, leaving you more productive, more aware and maybe just bit more able to handle whatever is coming at you.  Centering is a great way to begin or end a practice or to find a moment of calm anytime during your day.  I hope you find it helpful in your life!


Thursday, April 18, 2013

A great beginning, middle or end for your restorative yoga practice :-)

The following video shows you how to set up for what I call the "Laz E Boy posture;" a supported, semi-reclined posture that really allows you to really let go.  It takes a little situating, and sometimes a little creativity with what props you have on hand (books and couch cushions are great!) but it sooooo worth it. So take a minute, set it up, and spend some time rejuvenating - anytime during your practice!